The reason for this build was because i wanted to use my office Active Directory users within AWS but without giving each instance direct access to the domain controller. I also wanted some kind of resilience should the VPN’s between my VPC and office went down. Also, being a linux guy, im more comfortable with using LDAP compared to active directory.
This guide assumes you ahve already setup 389DS on your server.
This guide is for bidirectional replication, so any users you add in Active directory will be replicated over to the 389DS and any users you add to the 389DS will be replicated over to the active directory server. To accomplish this, we add a new OU to both the 389DS and AD forest.
The configuration
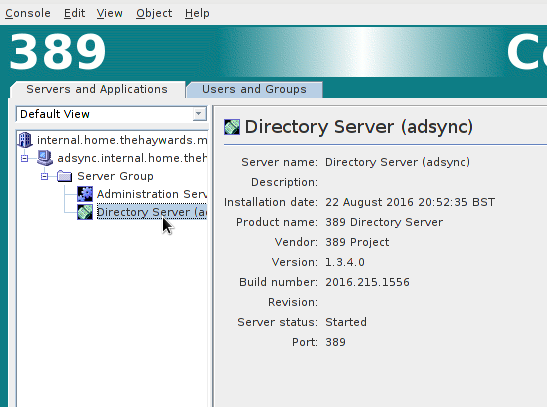
Log into your 389DS server and double click on “Directory Server”
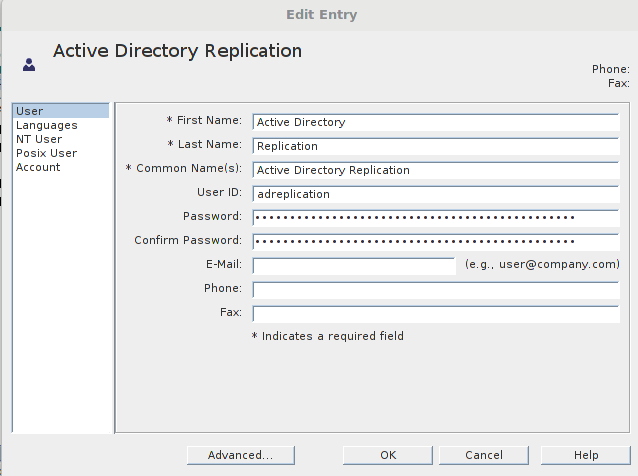
Select “Directory” at the top and click on “config” on the left.

In the config directory, you need to create a new user. Because the user “replication” is already used by LDAP itself, i used the name “adreplication”
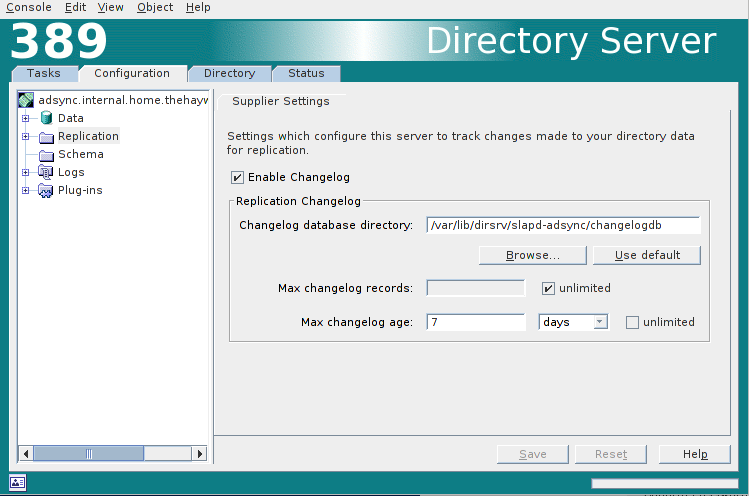
Next, we need to configure “changelogging” Click on “Configuration” at the top and select “Replication” on the left hand side.
I selected to “Use Defualt” for the changelog database directory.
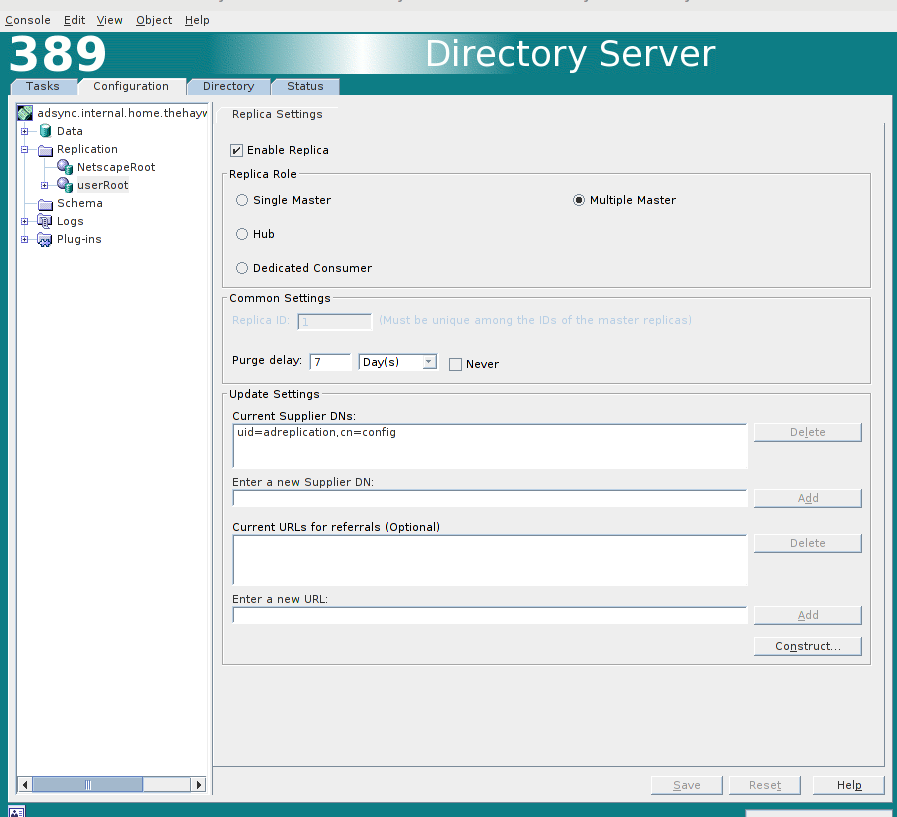
Now we need to configure the “userRoot”. here we set the “Replica role” for this server. As we going for bi-directional sync, we will use “Multiple Master”. We will also set the “Purge Delay” to 7 days and set the “Supplier DN’s” to the user the we created earlier (adreplication).
You will need to enter the details in the “Enter a new Supplier DN” box and press “Add”
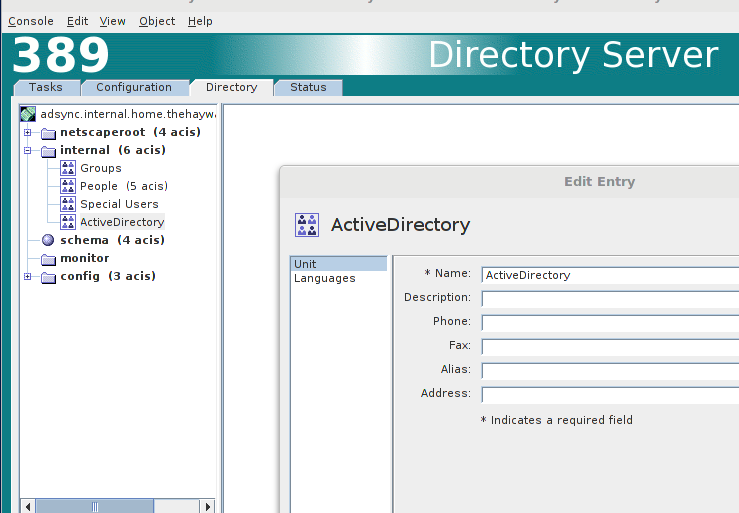
Now we need to create the new OU in which we will store our AD users.
Now we need to make a changeo n the AD server. Its a quick, simple change. Just create a new OU in which to store our LDAP users.

The Sync Agreement
Now that we have prepared both servers, we need to create the sync agreement. This is done back on the 389DS server.
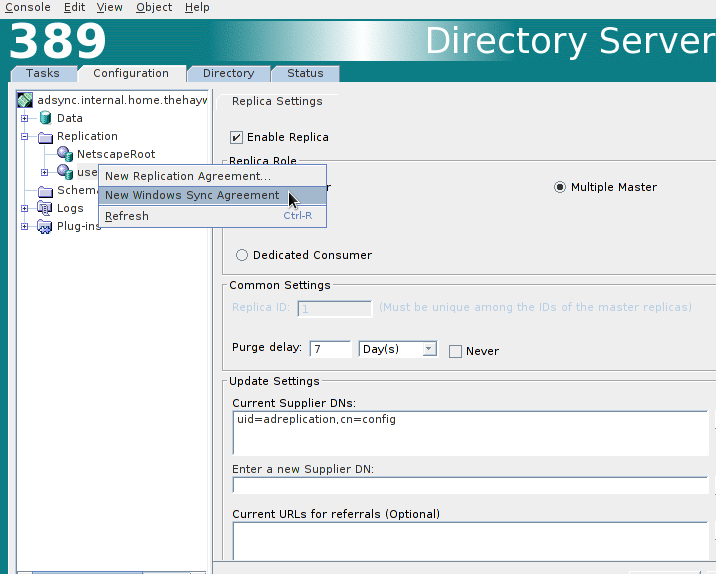
Right click on the “userRoot” and select “New Windows Sync Agreement”
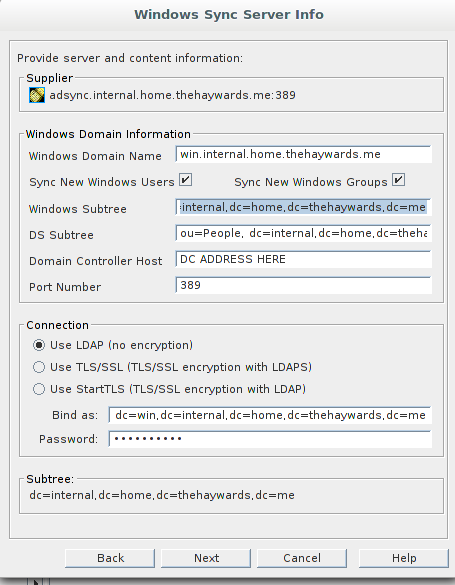
Configure the sync as below:

Then press the “Next” button. Now add the additional details which will point to your DC.
Then press “Next”. You will get a summary of all the options we have set. Provided you are happy with them, press “Done”.
Now all you need to do it to initiate the Sync. Right click the connector and initialise a full sync. It would be advisable to make a backup of your current LDAP and AD instances beforehand. just in case.
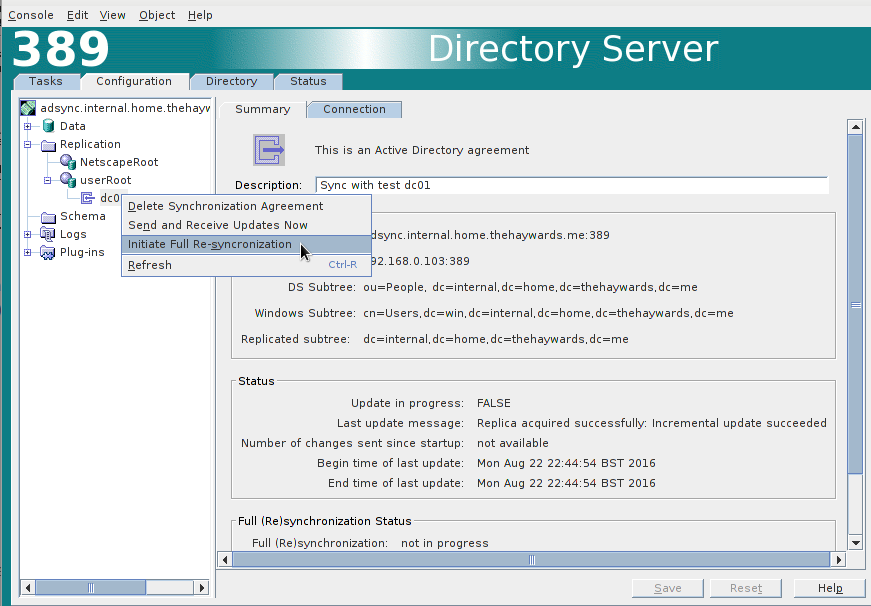
You will get a warning stating that this may take a little while. Id imagine this will depend on your AD environemnt. I built this domain controller just to test this so there is praticly nothing in there.
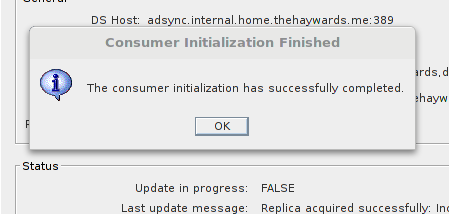
You will eventually get a (hopefully) Sucess message.
You should now see that your “People” OU is populated with your AD users.
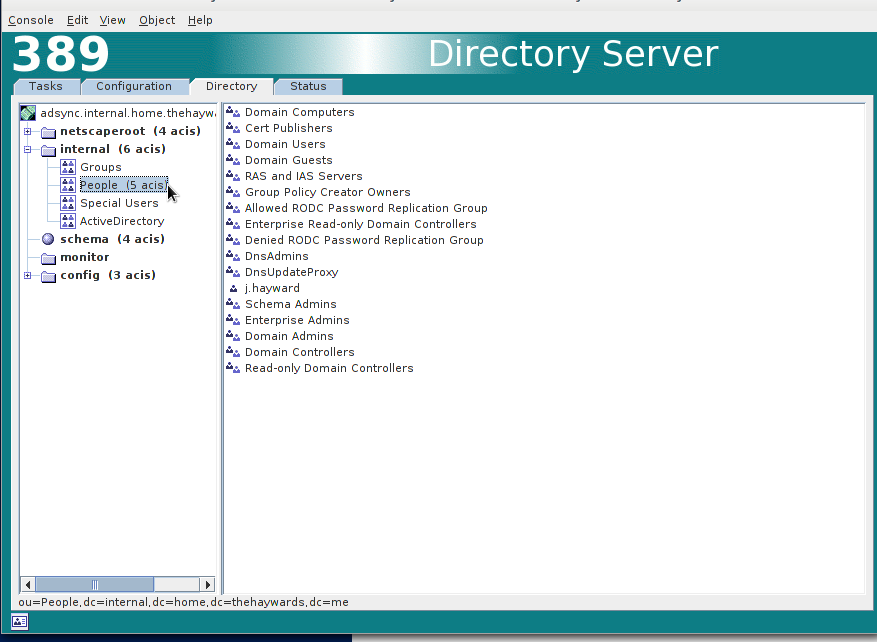
That should be it.